 BraveCL
How to make a personal Easter photo card on Mac
Personalize a three-photo Easter card with your portrait, move a bunny basket sticker, and review the finished greeting on Mac.
- What you'll achieve
- A personal Easter card with your portrait on the left, a rabbit in the center, tulips on the right and a decorative basket moved away from the people in your photo.
- What you need
- Easter Frames & Cute Stickers 3.0 on a Mac.
- A portrait photo available to import into the card.

The built-in three-photo Tulip Garden sample includes a spring frame, three picture openings, Easter stickers and a Happy Easter! message. Follow these steps to replace the first picture with your own portrait and move a sticker without disturbing the other pictures.
1.Open the Easter card maker
Open Easter Frames & Cute Stickers on your Mac. The starting screen offers spring frames and the Make Sample Card option.
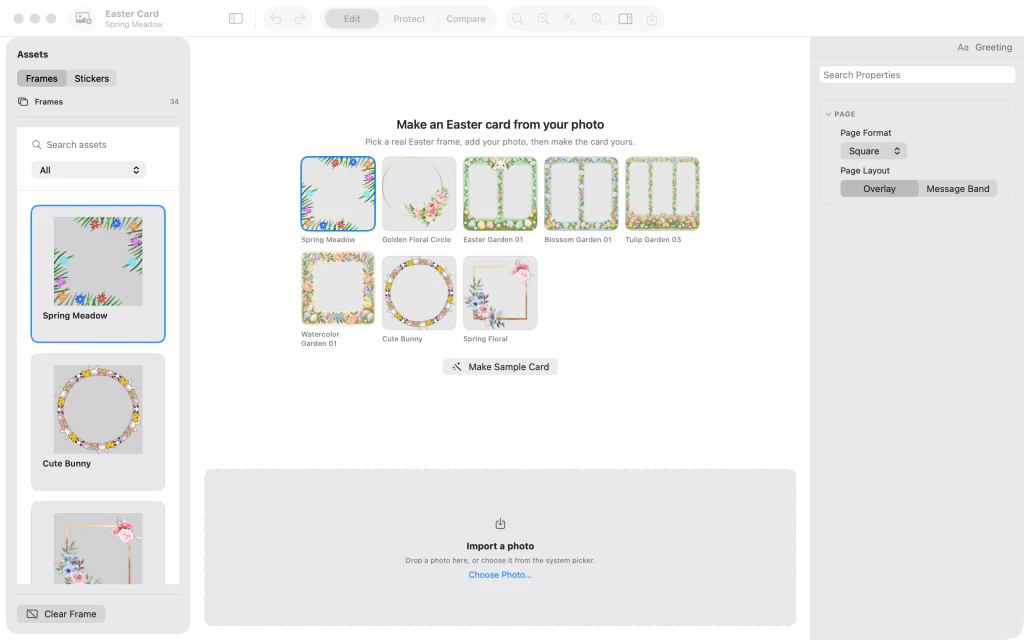
Easter Frames & Cute Stickers opening screen with spring frame choices and Make Sample Card. 2.Start with the three-photo sample
Click Make Sample Card. A Tulip Garden card opens with three photo slots, a Happy Easter! message and decorative Easter stickers.
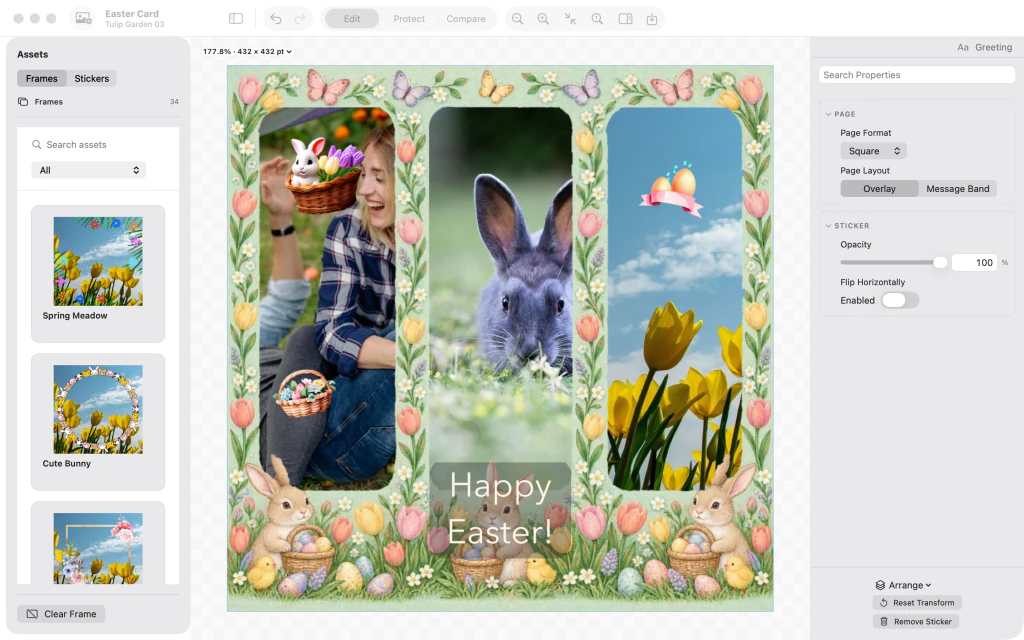
Three-photo Tulip Garden Easter card with a woman, rabbit and yellow tulips, plus a Happy Easter greeting. 3.Add your own portrait
Import a portrait photo to replace the picture in the left opening. A vertical photo works well here; the center rabbit and right-hand tulip photos stay in place.

Personal portrait of a couple placed in the left opening of the Tulip Garden Easter card; basket sticker still covers their heads. 4.Move the basket sticker away from faces
Select the bunny-and-egg basket sticker covering the top of your portrait and drag it into the lower-right tulip area. Keep the portrait subjects unobstructed.

Basket sticker moved onto the lower-right tulip photo, leaving the couple's faces visible. 5.Review your finished Easter card
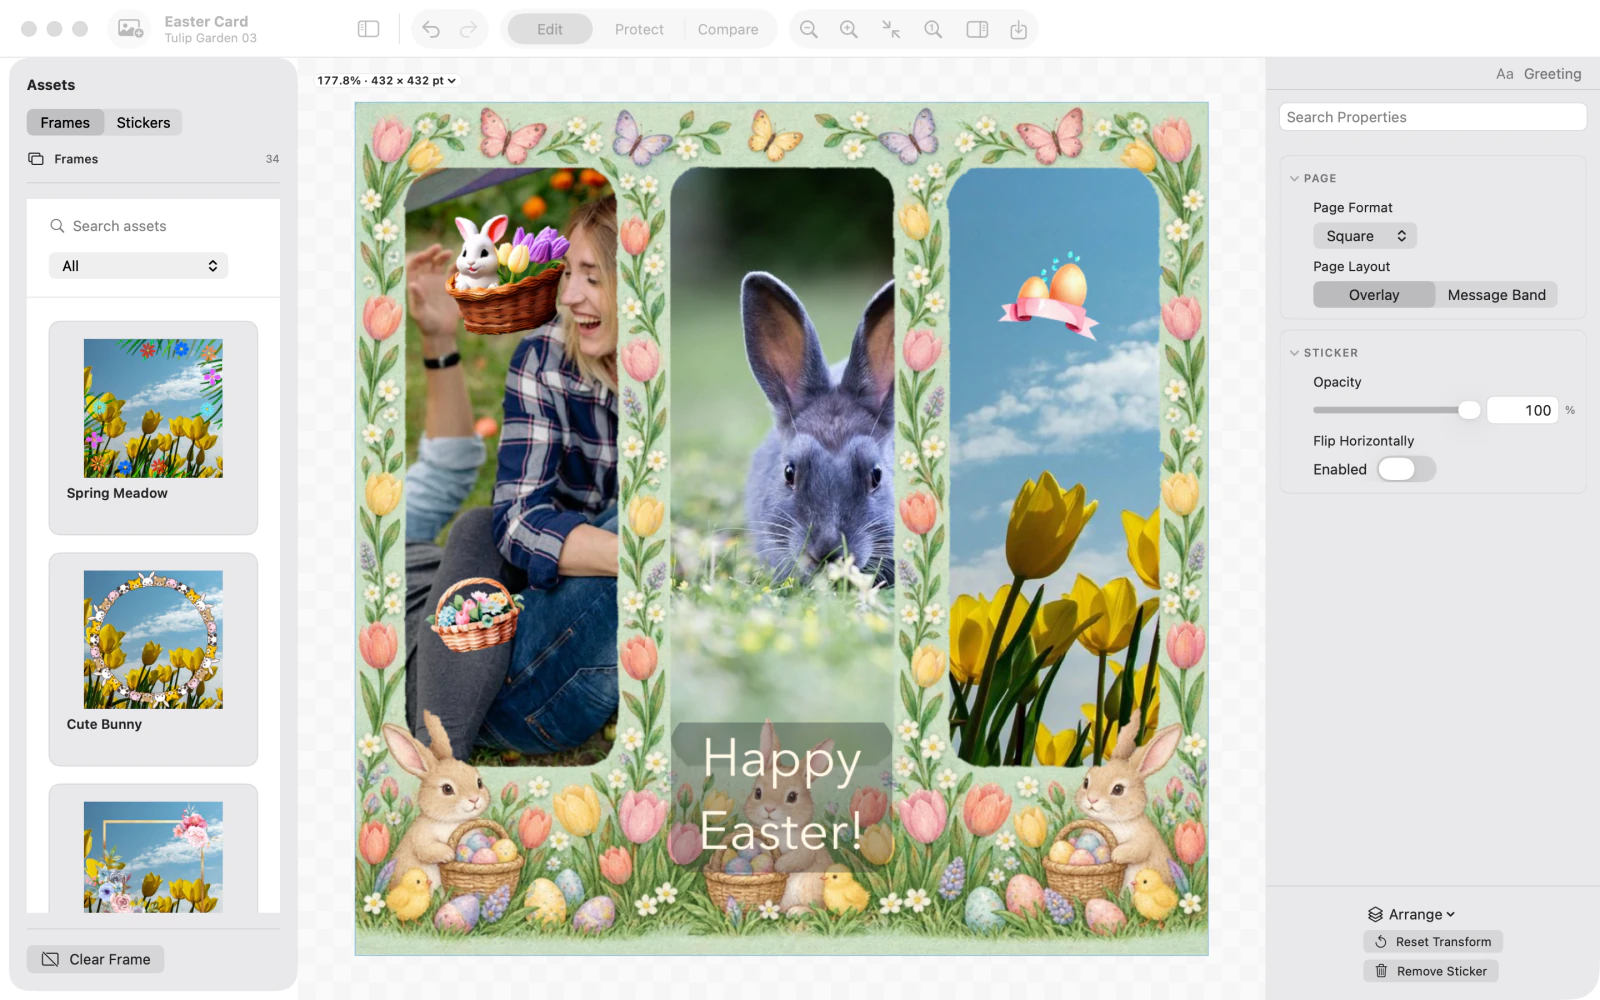
Deselect the sticker, then hide the Assets sidebar and inspector for a larger view. Check the portrait, center bunny, tulips, Easter decorations and Happy Easter! greeting before saving or sharing.

Finished Easter card with a couple's portrait, rabbit, spring tulips, Easter stickers and Happy Easter greeting, with side panels hidden.



Tips
Use Make Sample Card to begin with a complete Easter layout instead of an empty card.
Move stickers away from important details such as faces.
Hide the side panels when reviewing the overall composition.
Watch outThe app makes one card at a time and does not maintain a saved library of editable projects. Save or share a copy when you finish.

