 BraveCL
How to build a layered app icon on Mac
Create four editable icon depth groups, refine glass material, validate enabled targets, and save a layered project in Assets for Xcode.
- What you'll achieve
- Your saved MyIcon project contains four editable groups named Orange Plate, Purple Plate, Blue Plate, and Paper Plane.
- What you need
- Assets for Xcode installed on a Mac.
- Icon artwork for four depth groups: a base, two coloured plates, and a foreground symbol.
- A writable location for your editable MyIcon project.

Build a layered app icon without flattening its artwork too early. This guide follows the four-depth-group paper-plane design shown in the first Assets for Xcode store screenshot: add the source artwork, adjust glass materials, configure export targets, validate the icon, and save an editable document.
1.Begin with your icon artwork
Open Assets for Xcode and bring your first source image into the welcome window. The screen also offers Open Project and Create New Project; for this example, drag the base artwork onto the welcome area to begin the editable document.

Assets for Xcode welcome window with Open Project and Create New Project buttons. 2.Import and name the bottom plate
After importing the first image, select the new group in Layers and name it Orange Plate. The icon preview shows an orange-to-pink base with its own editable depth group.
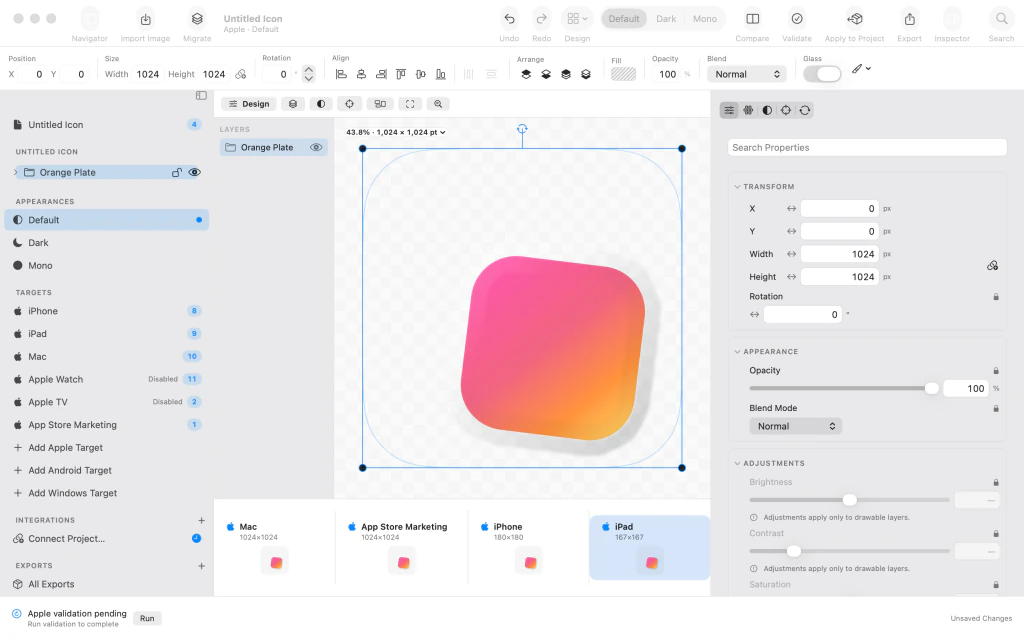
An editable icon with the Orange Plate depth group and orange-to-pink artwork. 3.Add the purple plate
Select the canvas root, import the second source image as another depth group, and name the new group Purple Plate. Both Purple Plate and Orange Plate remain separate in Layers.
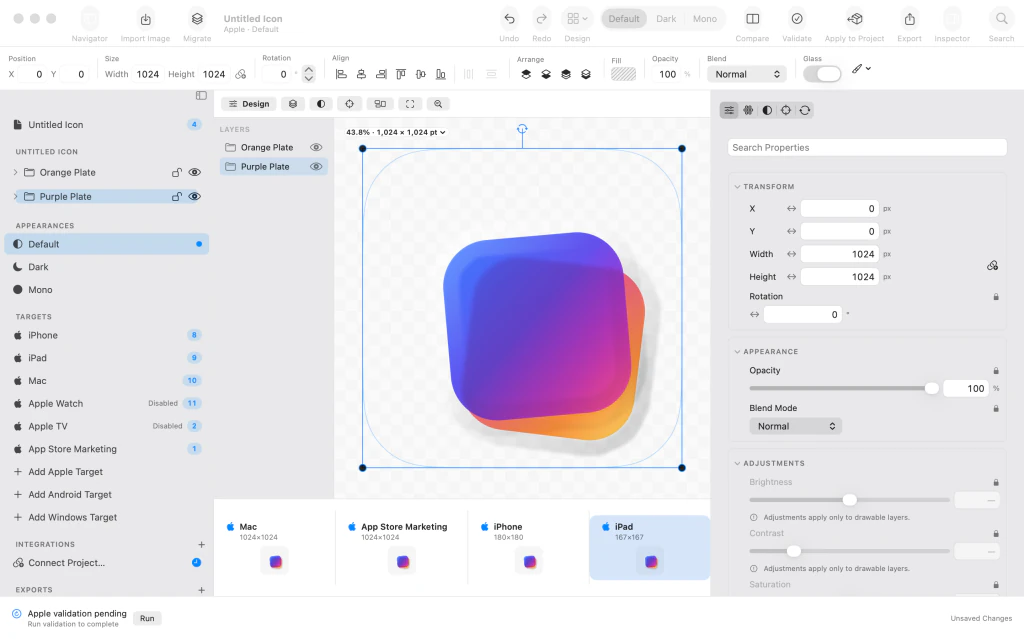
Purple Plate added above Orange Plate in the Layers list and in the icon preview. 4.Stack the blue plate
Select the canvas root again, import the third source image, and name its group Blue Plate. Check the preview: the blue artwork sits above the purple and orange plates.
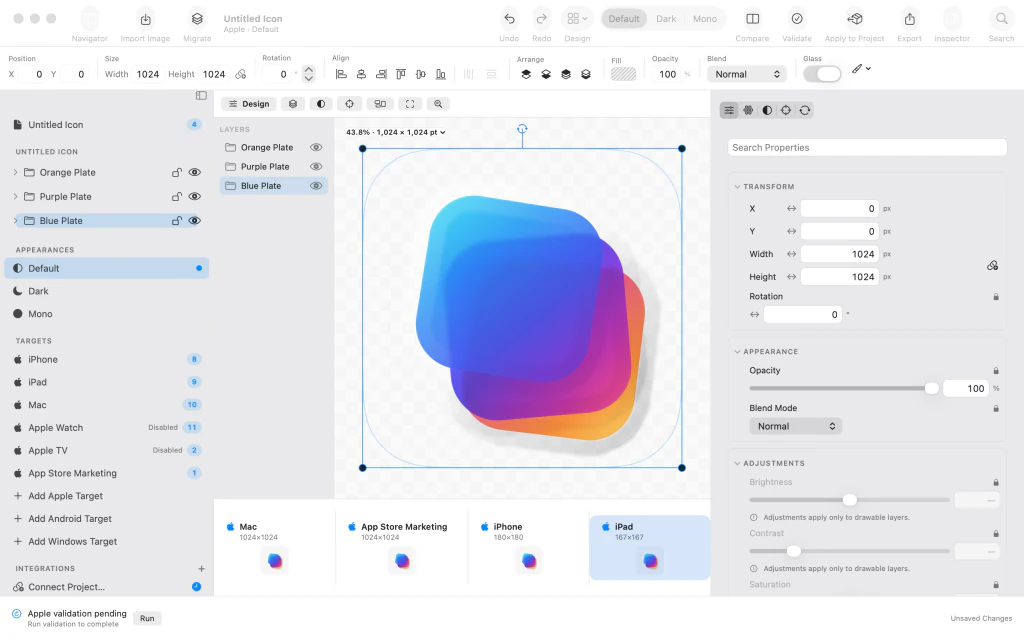
Blue Plate added as a third editable depth group above the purple and orange plates. 5.Complete the paper-plane icon
Import the three paper-plane SVG components together as one depth group, name that group Paper Plane, and name the document MyIcon. The Layers list now contains four independently editable groups.
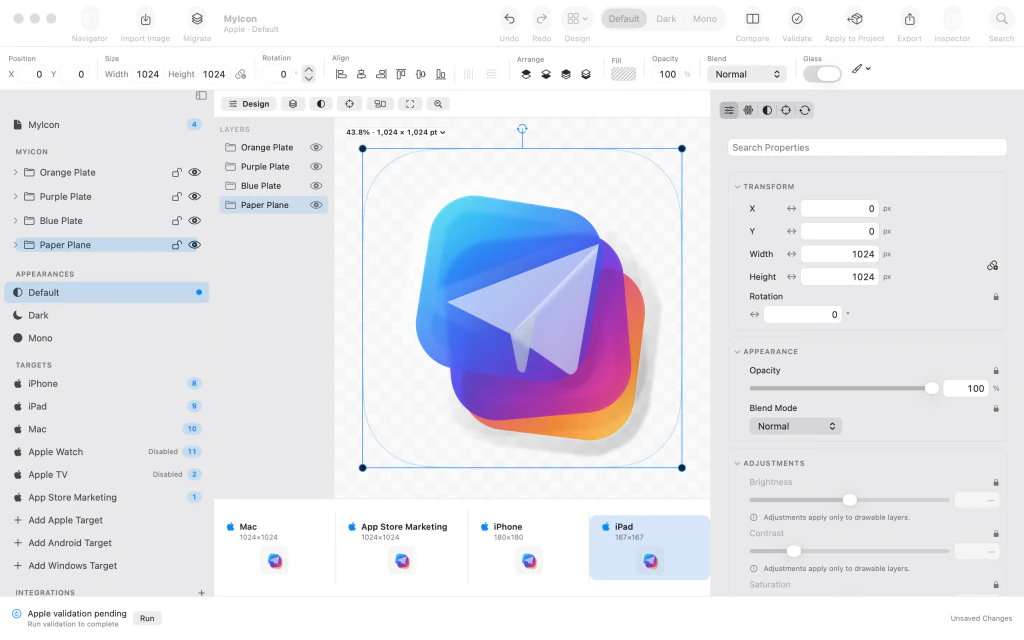
Paper Plane added over three colored plates, with four named depth groups in MyIcon. 6.Keep the paper plane solid
Select Paper Plane, open the material inspector, and turn Glass off under Material (Glass). The foreground plane becomes a crisp opaque white shape rather than translucent glass.

Material inspector showing Glass disabled for the selected Paper Plane group. 7.Set Clear Glass on the blue group
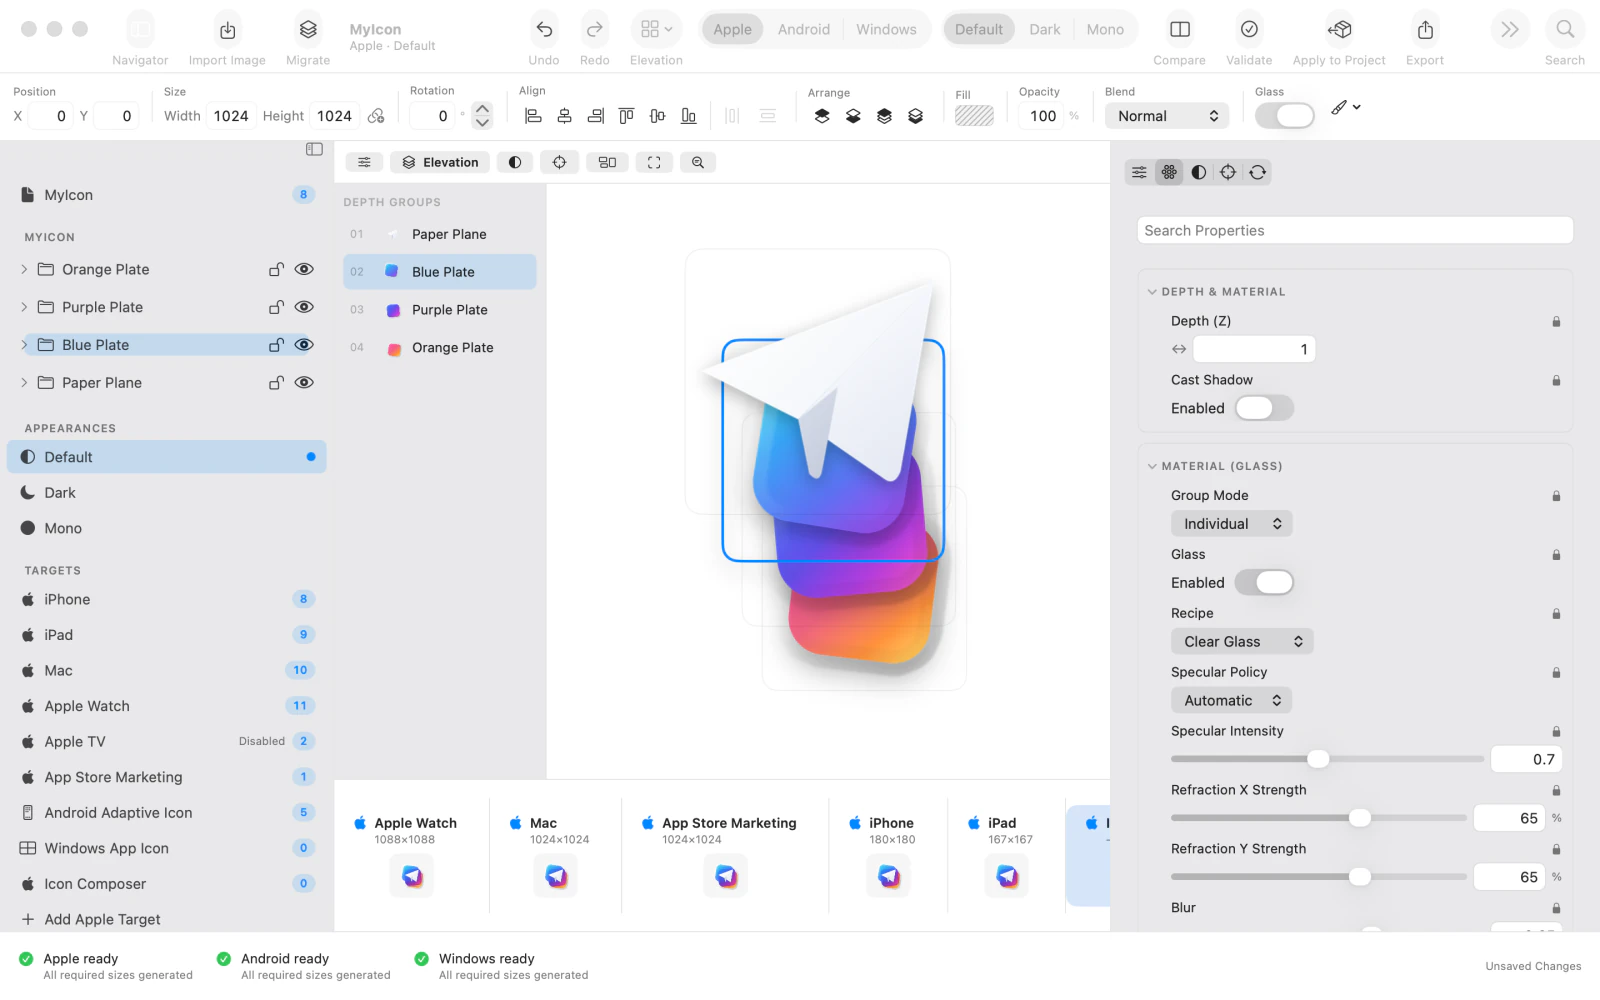
Select Blue Plate, switch to Elevation, then use the material inspector to set Recipe to Clear Glass. Confirm that Glass is enabled and inspect how the groups stack in depth.

Elevation preview of four icon depth groups, with Clear Glass enabled for Blue Plate. 8.Enable the desired platform targets
Enable Apple Watch and add Android Adaptive Icon, Windows App Icon, and Icon Composer to the existing Apple targets. Confirm the sidebar and preview strip show the destinations you intend to validate.

The target list includes Apple Watch, Android Adaptive Icon, Windows App Icon and Icon Composer. 9.Validate the enabled targets
Run icon validation and review the bottom status bar. The example shows Apple ready, Android ready, and Windows ready, with all required sizes generated. Resolve any target issue before saving.
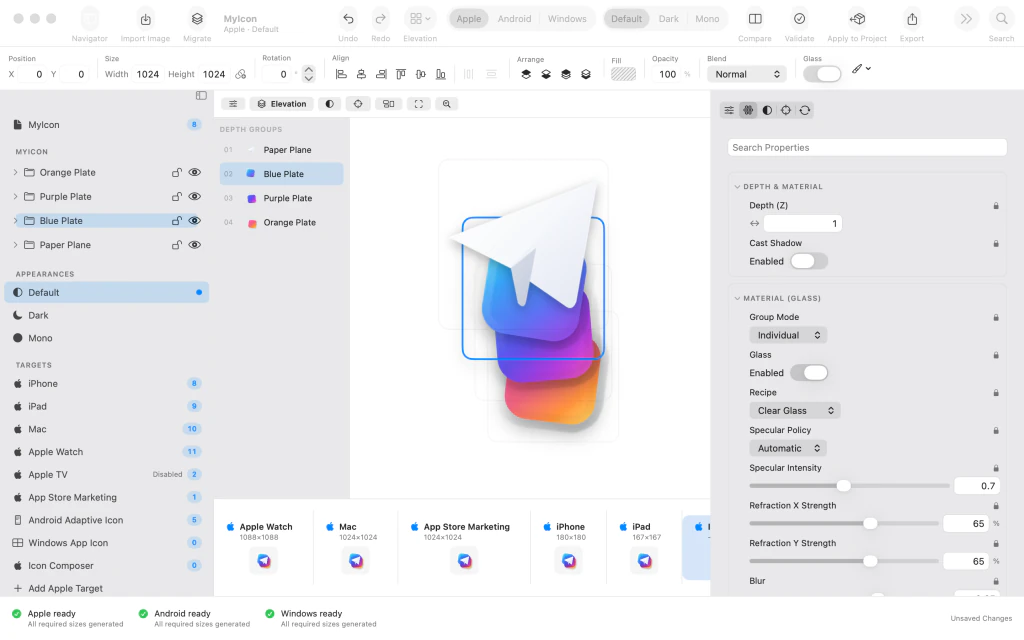
Validation status shows Apple ready, Android ready, and Windows ready for the enabled targets. 10.Save and review the editable project
Return to Design, select the document root to clear the selection bounds, and save the project as MyIcon.braveicon. The title MyIcon, four named groups, and Saved indicator confirm the project is stored. Exporting final platform assets is a separate workflow.

The completed MyIcon icon in Design view with four editable groups and Saved status.



After the last step
The plane remains opaque, the blue layer uses Clear Glass, and the enabled Apple, Android, and Windows targets pass validation. Saving the project does not export the final platform files.
Tips
Keep each plate as its own group in Layers so you can change it without flattening the design.
Use Elevation to inspect the depth order before choosing a glass recipe.
Read the validation status for every enabled target before saving your icon document.
Watch outThis walkthrough saves the editable icon project; it does not export an AppIcon.appiconset or other final platform files.
Watch outIf a target is not ready after validation, correct that issue before exporting.

