 BraveCL
How to preview a WebP conversion on Mac
Compare a photo with its real WebP trial output before exporting a batch, without replacing the original image.
- What you'll achieve
- You will see the original photo and an actual WebP trial side by side.
- What you need
- WebP Batch Photo Converter installed on your Mac.
- One or more photos to import, such as JPEG files.

A preview makes it easier to inspect the converted result before saving new files. Start with sample photos, add your images, select one source, make a WebP trial, and compare it with the original.
1.Start with a sample batch
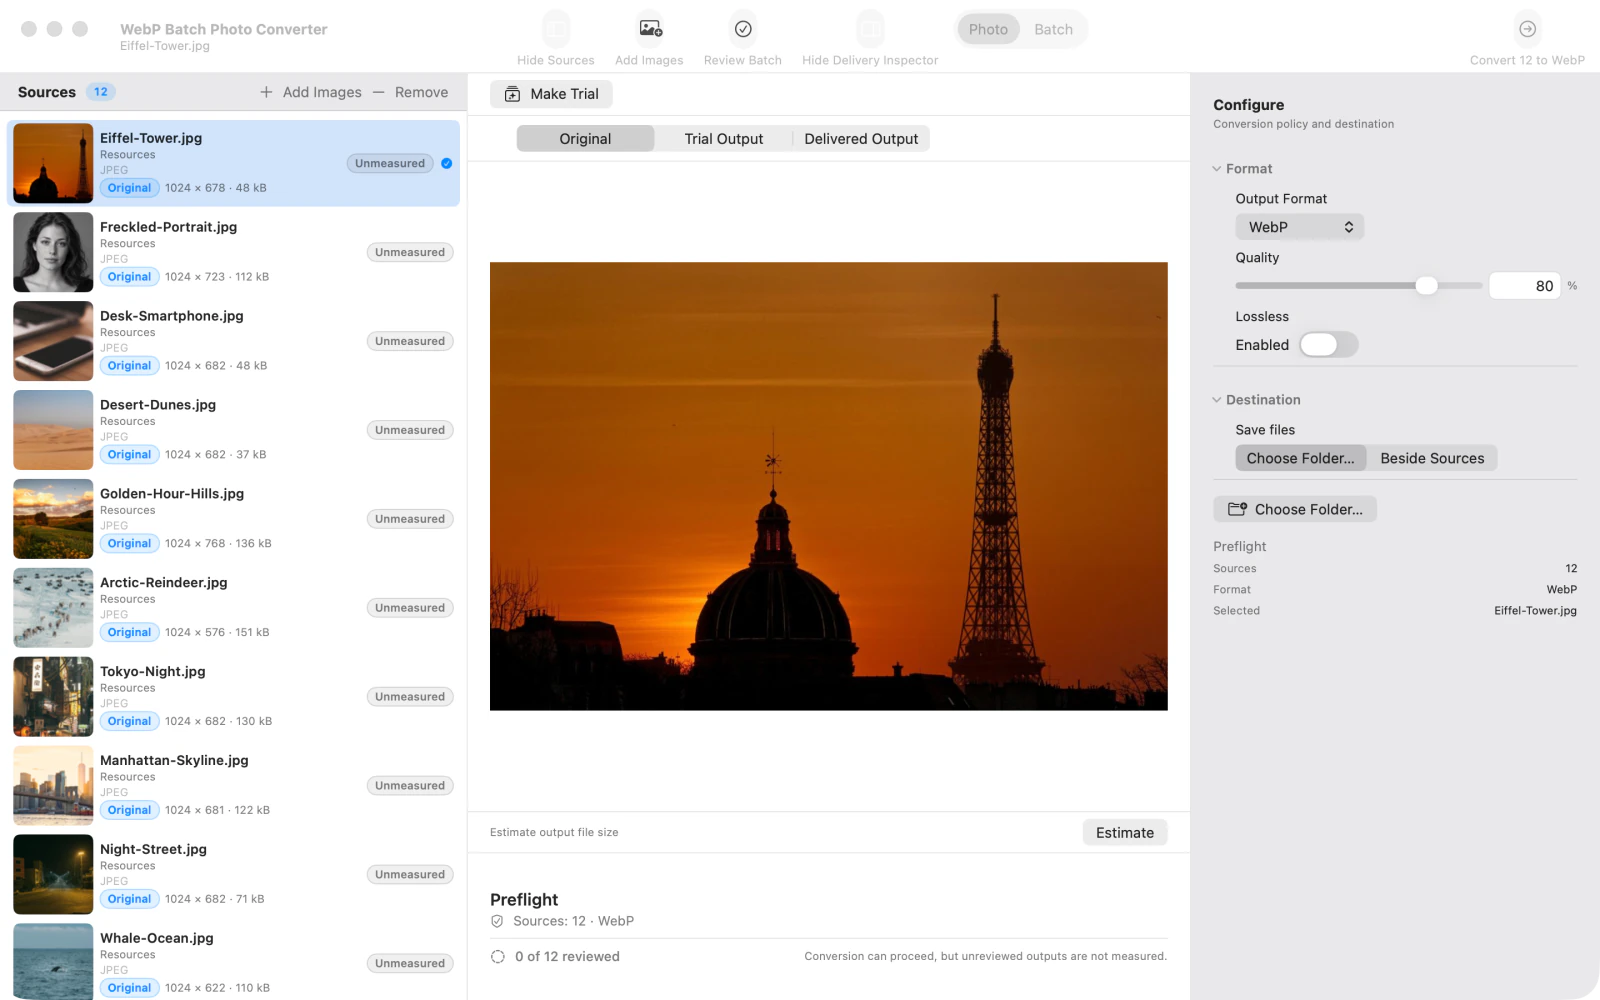
On the opening screen, choose Try Sample Batch. The app loads example images into Sources so you can see the conversion workspace.
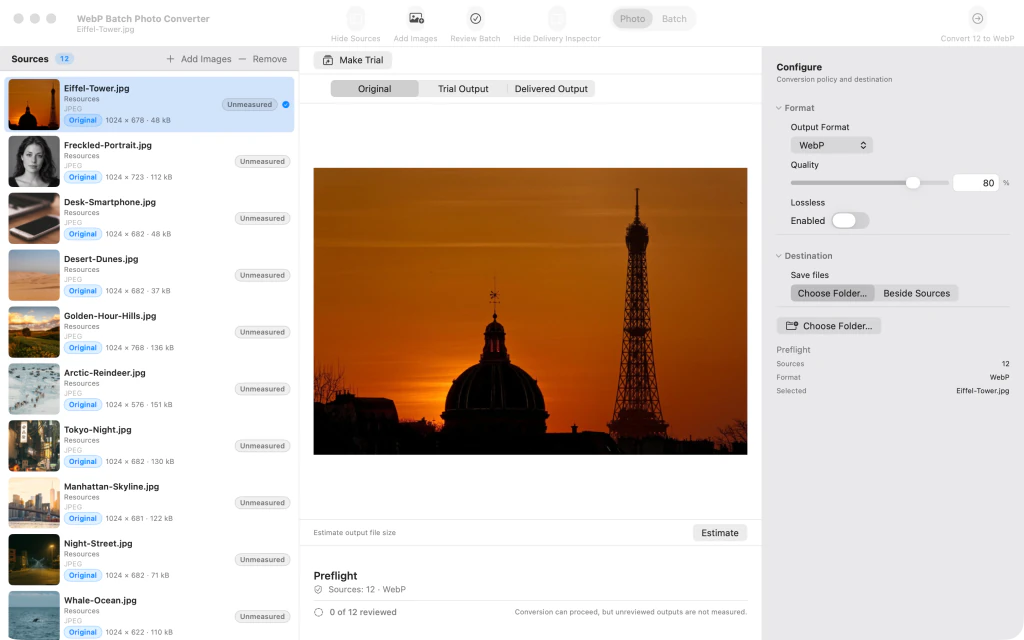
Twelve sample photos loaded in WebP Batch Photo Converter, with the source image visible and WebP selected. 2.Add photos to the batch
Choose Add images and select your photos. They appear in Sources alongside the sample images; the conversion format is set to WebP.

Sixteen photos shown in the Sources panel after importing four additional images into the WebP conversion workspace. 3.Select the original photo to inspect
Select unwanted example images and click Remove until only your photos remain. Choose a photo in Sources, then select Original above the preview.

Four imported photos in Sources with the bamboo forest picture selected and its original displayed. 4.Generate the WebP trial
With the photo selected, click Make trial. When conversion finishes, the source row indicates a current trial and shows its output size.
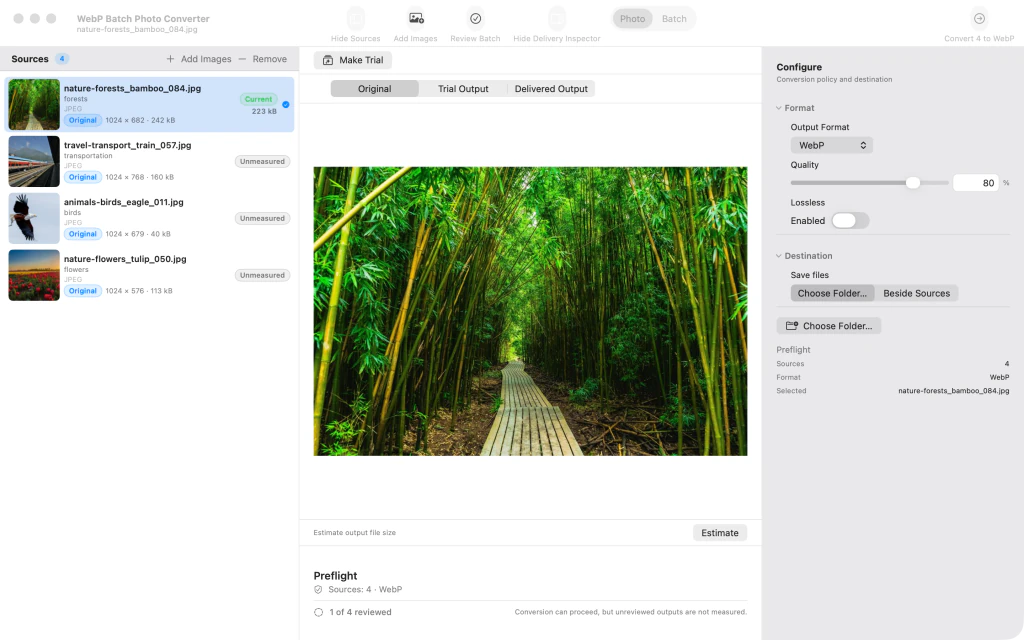
Bamboo forest photo selected with a completed WebP trial and output size in the source row. 5.Compare the original and WebP output
Switch to Trial Output. The photo comparison appears with an original-versus-converted divider so you can inspect the WebP result before exporting the batch.
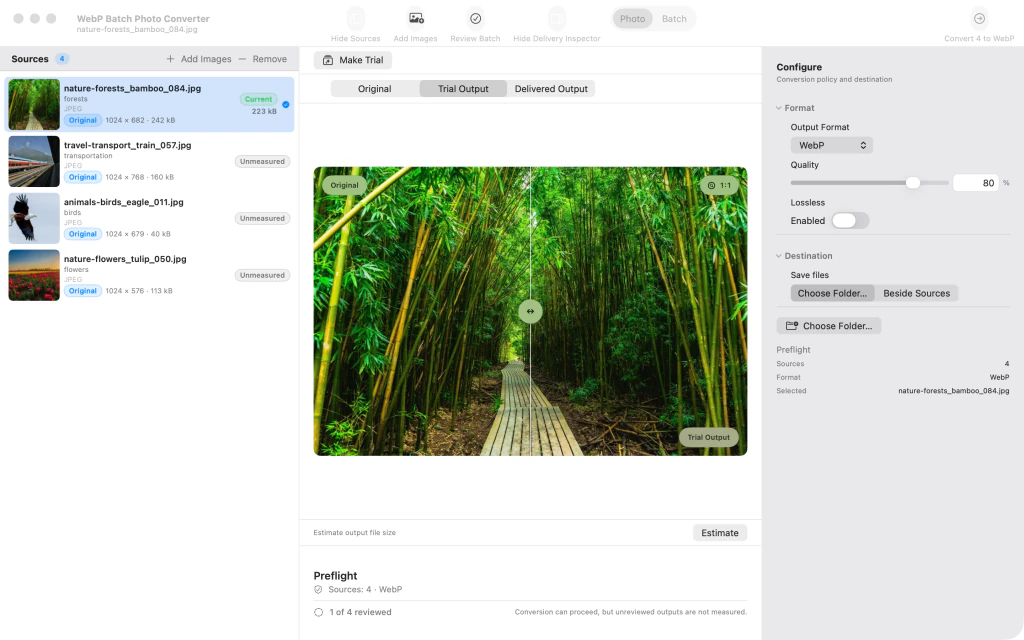
Bamboo forest photo shown in the original and WebP trial comparison, with a vertical split control.


After the last step
The preview does not overwrite or export the source image.
Tips
Adjust Quality before generating another trial to evaluate the output at a different setting.
The original photo remains available in Original while the converted preview is shown in Trial Output.
Watch outMake trial creates a preview rather than exporting the batch.
Watch outBefore using Convert batch, choose the intended destination and review the file names so you know where the converted files will be saved.

