 BraveCL
How to check CSV rows against recipient rules on Mac
Build a recipient contract, check all CSV rows against it, and identify records that are ready or held before sharing.
- What you'll achieve
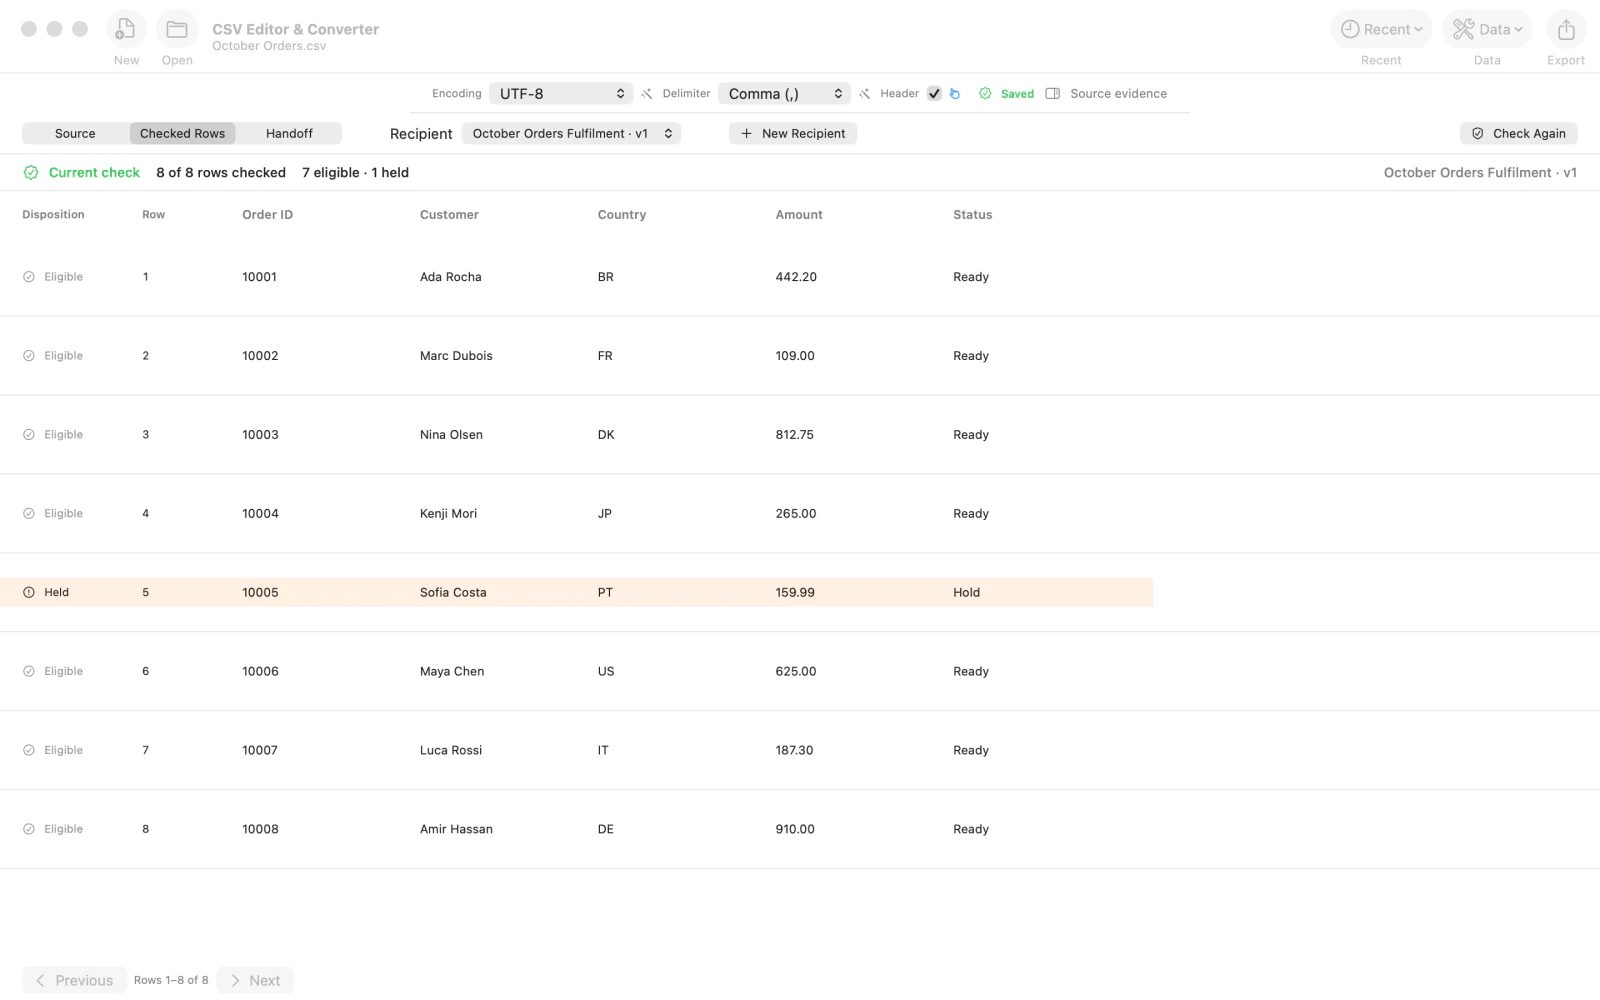
- The Checked Rows view reports eight rows checked: seven eligible and one held.
- What you need
- CSV Editor & Converter for macOS version 2.0 or later.
- A CSV file with a header row. The example uses October Orders.csv with columns Order ID, Customer, Country, Amount and Status.
- The recipient's expected columns and any allowed values, such as Ready for Status.
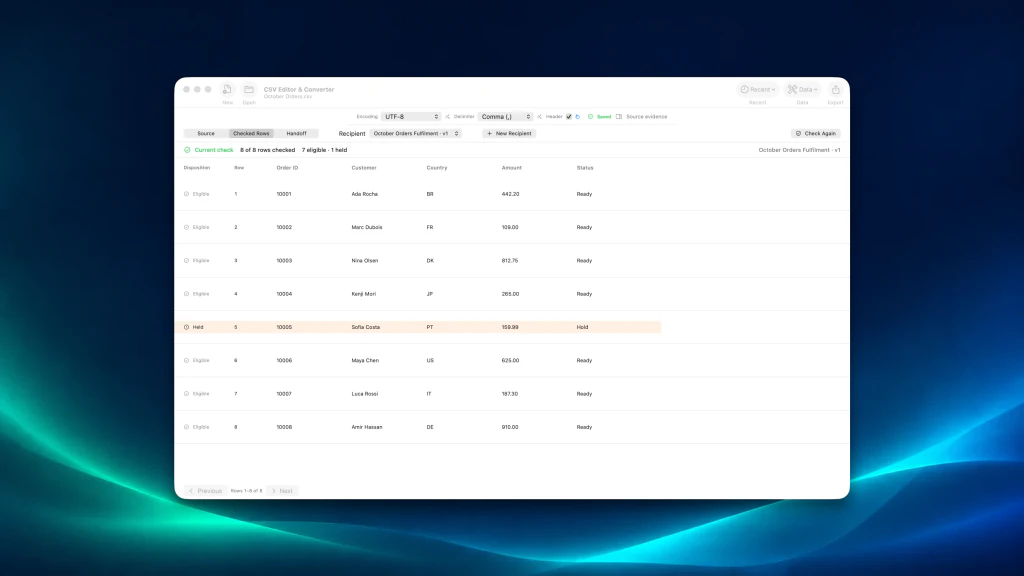
Use CSV Editor & Converter to check an entire source table against the recipient's requirements before preparing a delivery. This walkthrough opens an eight-row orders file, defines the fields and allowed status, and checks which rows qualify. It does not send or modify the source data.
1.Open your CSV file
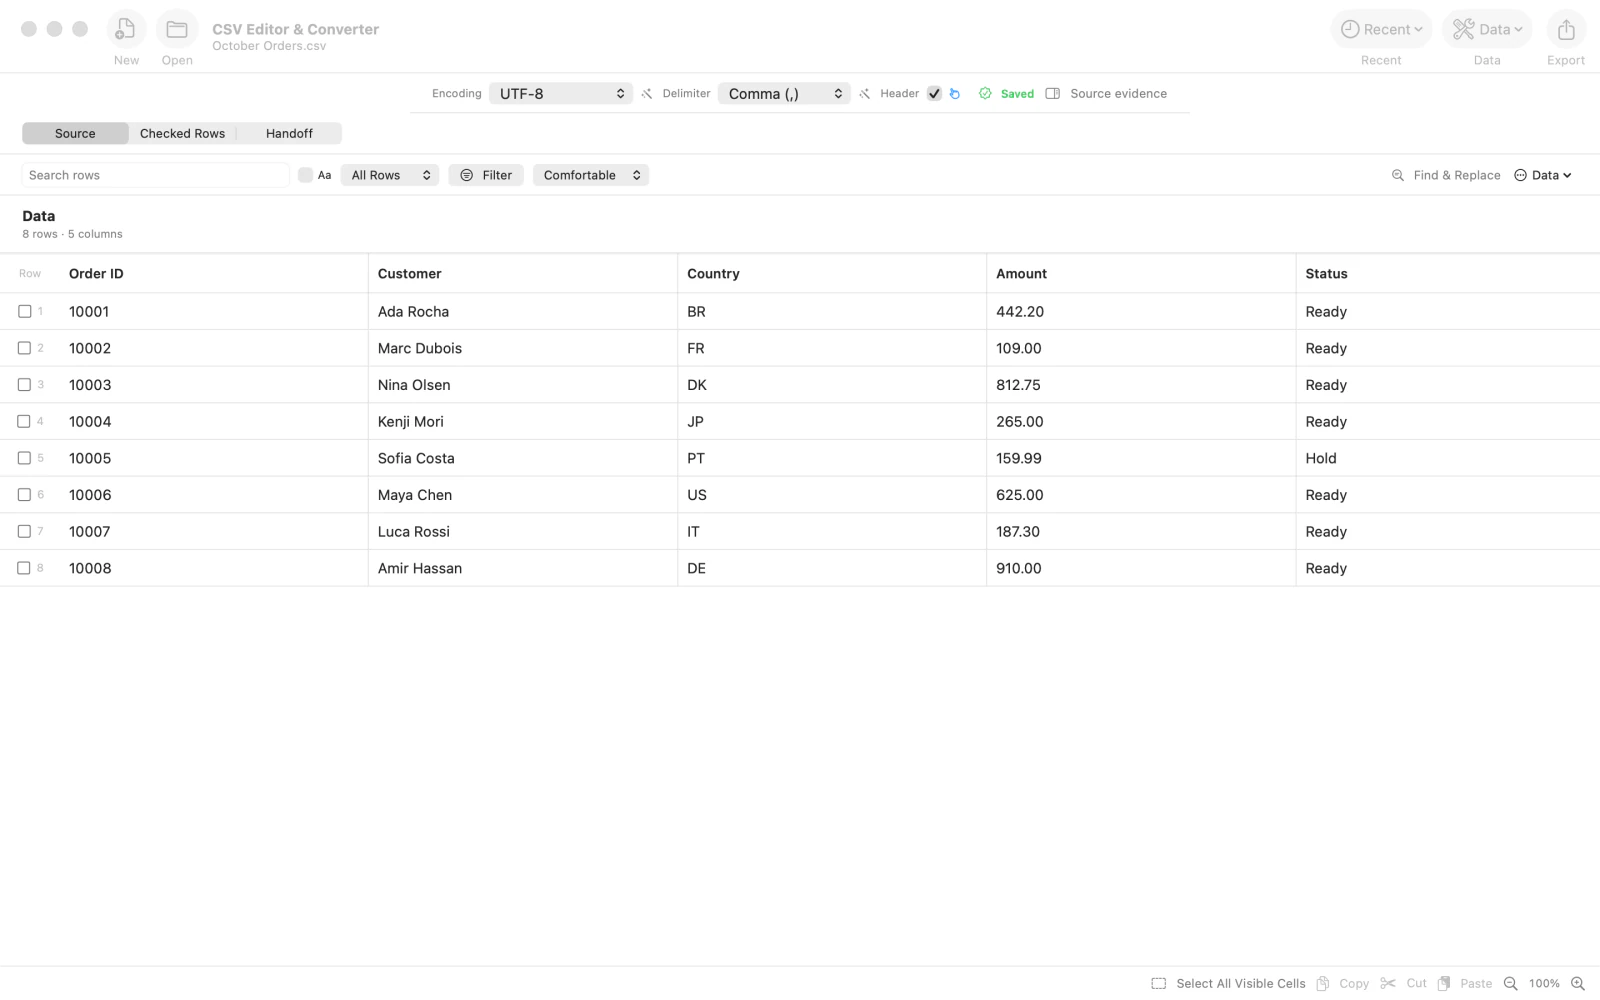
Use Open to choose the CSV file. In this example, October Orders.csv appears under Source with eight rows and five columns: Order ID, Customer, Country, Amount and Status. Check that the table contains the expected data.
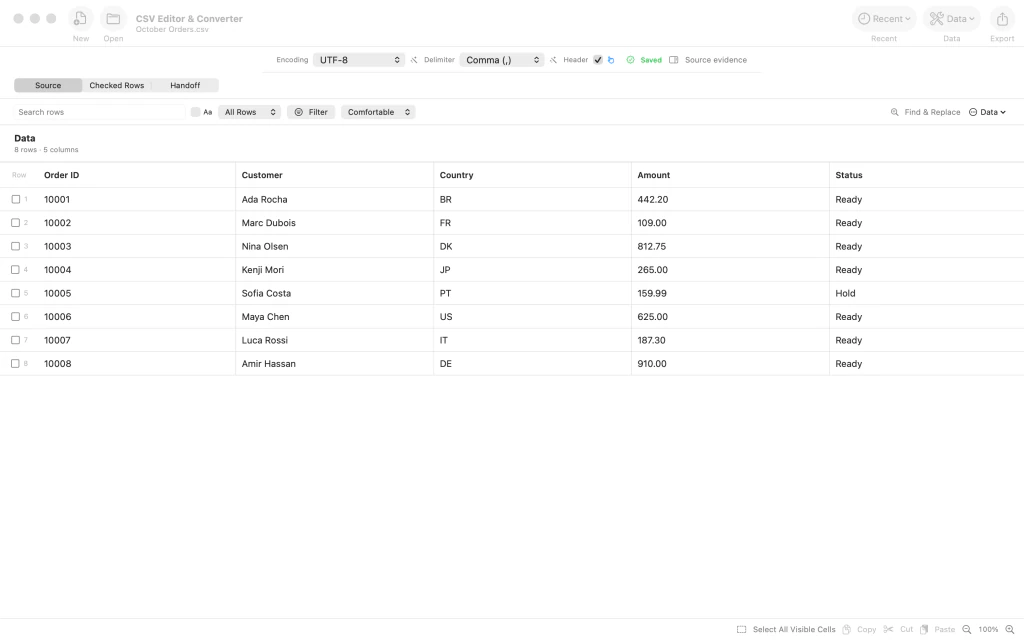
October Orders.csv open in CSV Editor & Converter with eight source rows and five columns. 2.Open Checked Rows
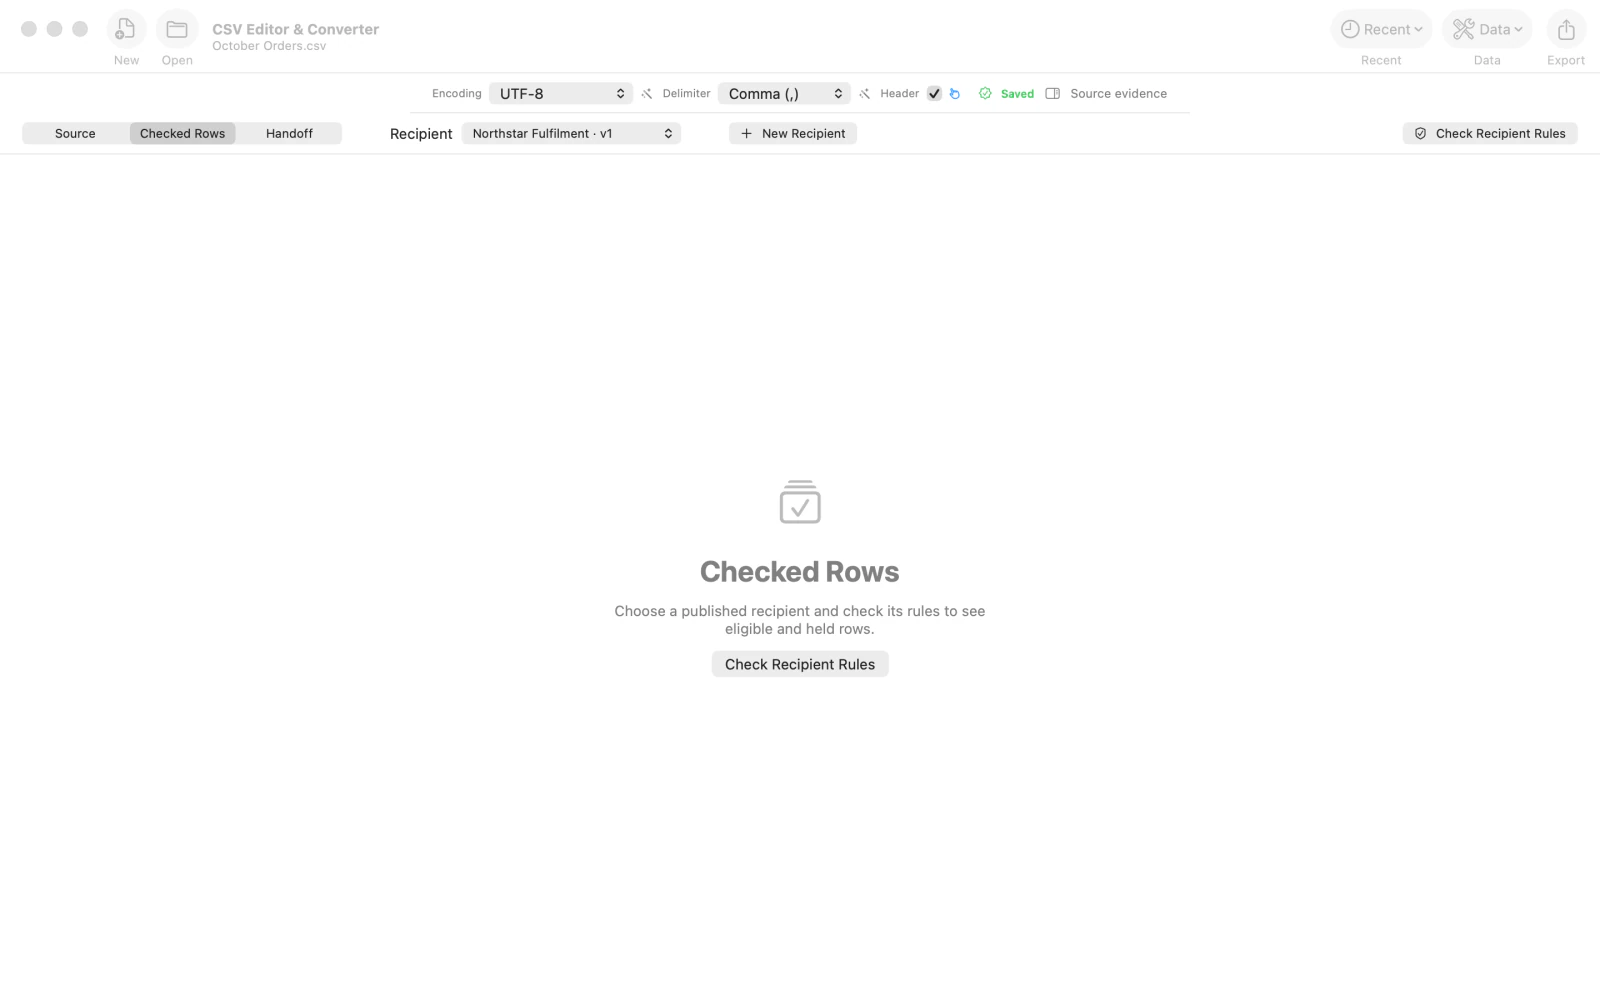
Select Checked Rows above the table. This workspace lets you pick a recipient and use Check Recipient Rules. To define the requirements for this file, click New Recipient.
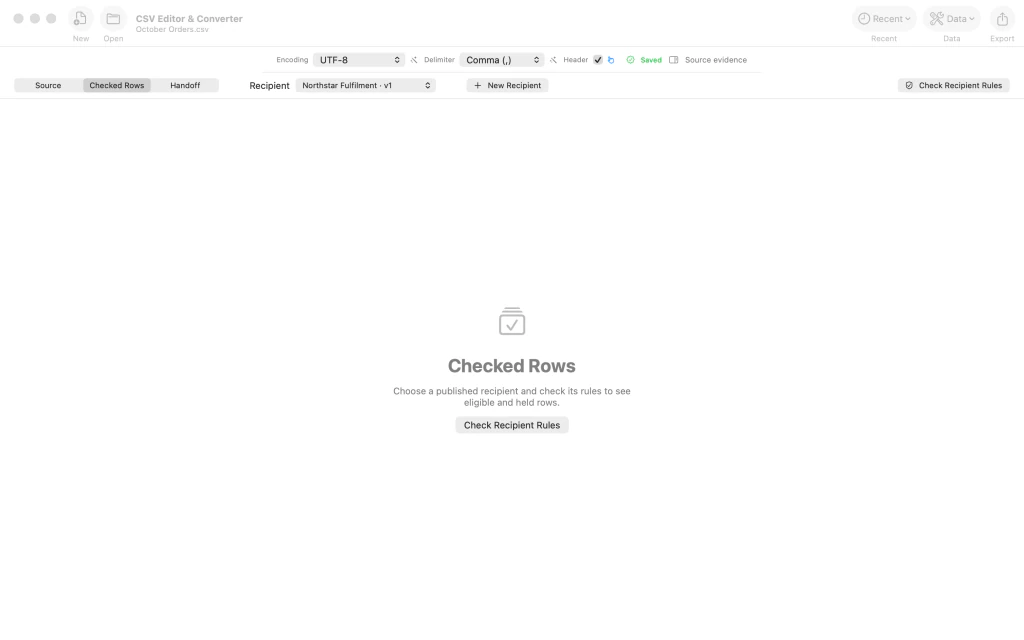
Checked Rows workspace with recipient selector, New Recipient button, and Check Recipient Rules. 3.Start a new recipient contract
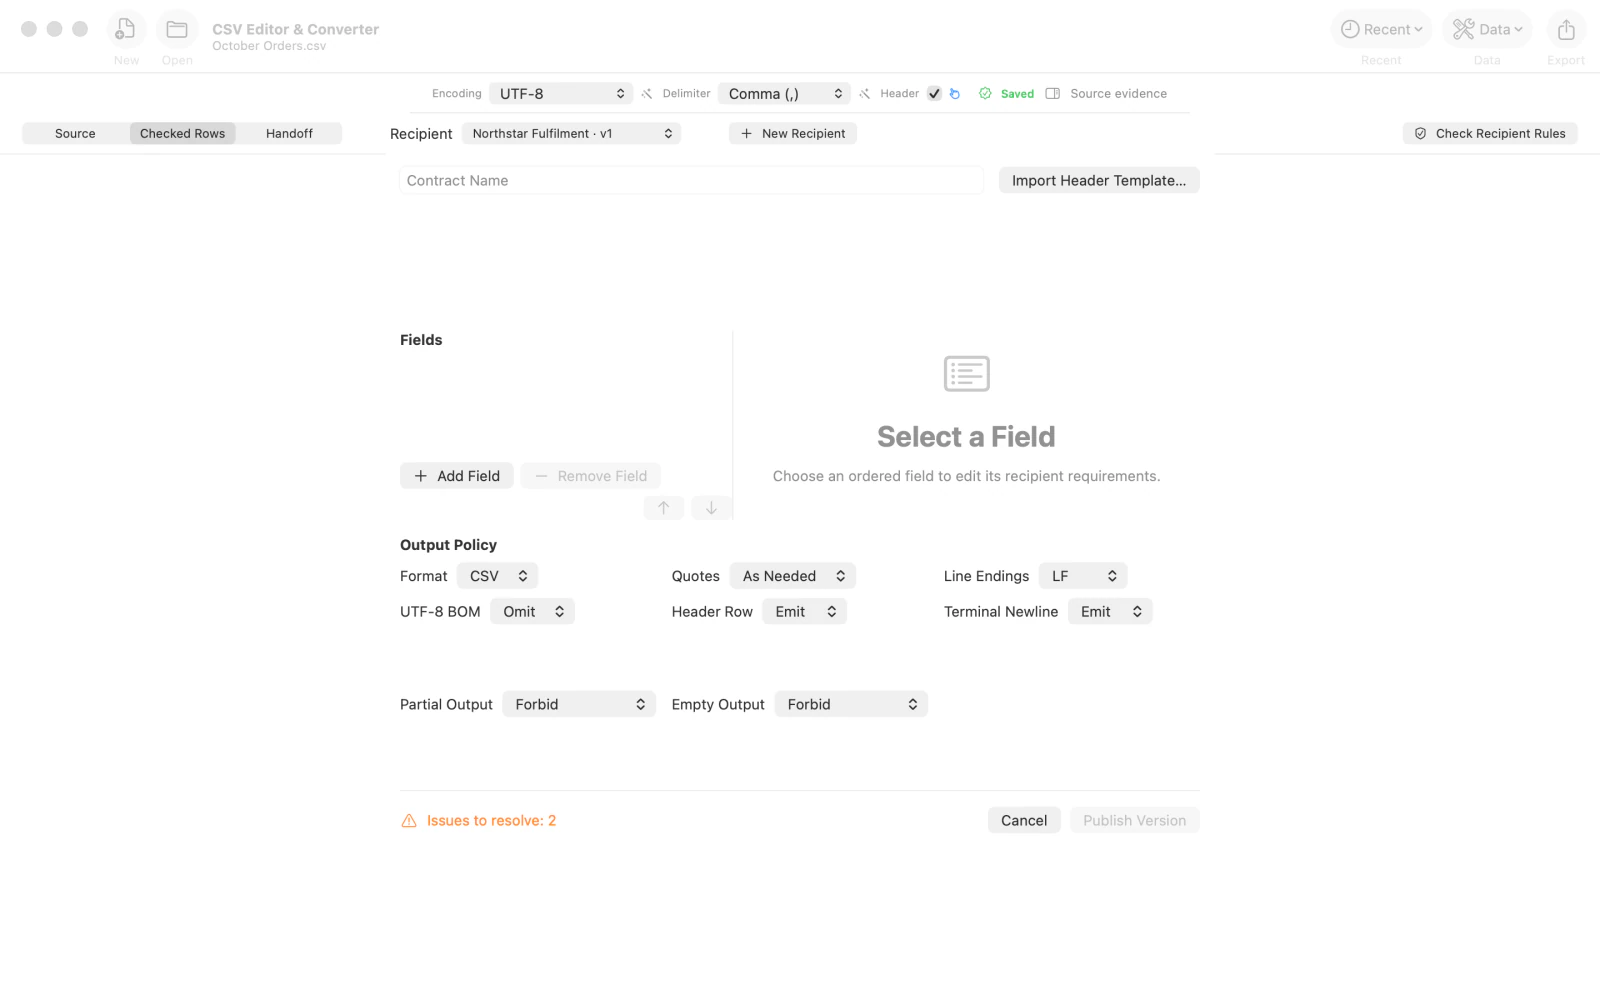
The editor opens with an empty Contract Name and no recipient fields. Review the Fields area and Output Policy options before entering the requirements.
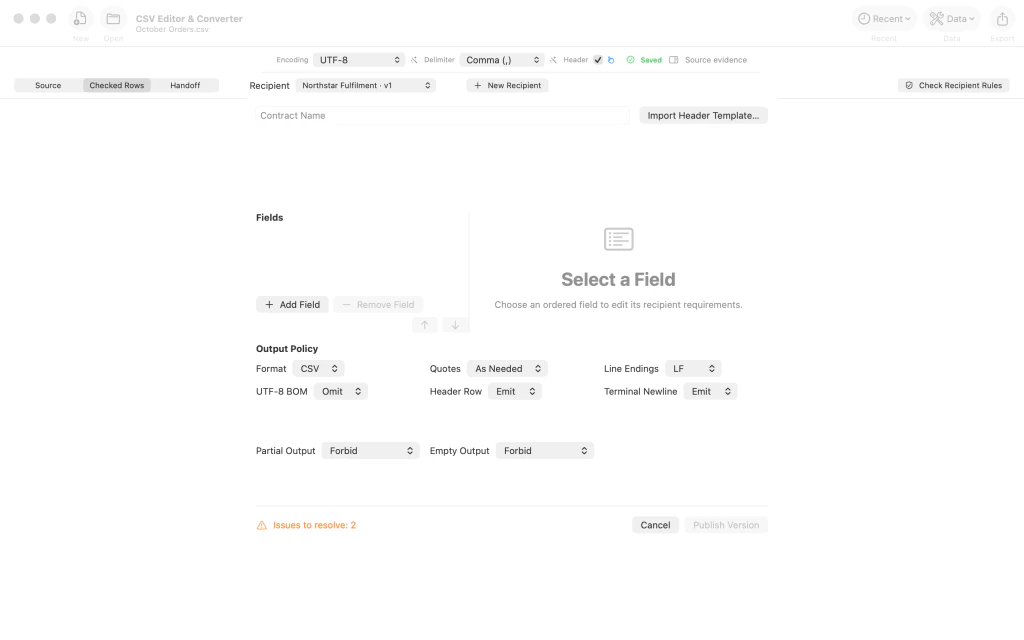
Blank recipient contract editor showing Contract Name, Fields and Output Policy. 4.Name the contract and define its fields
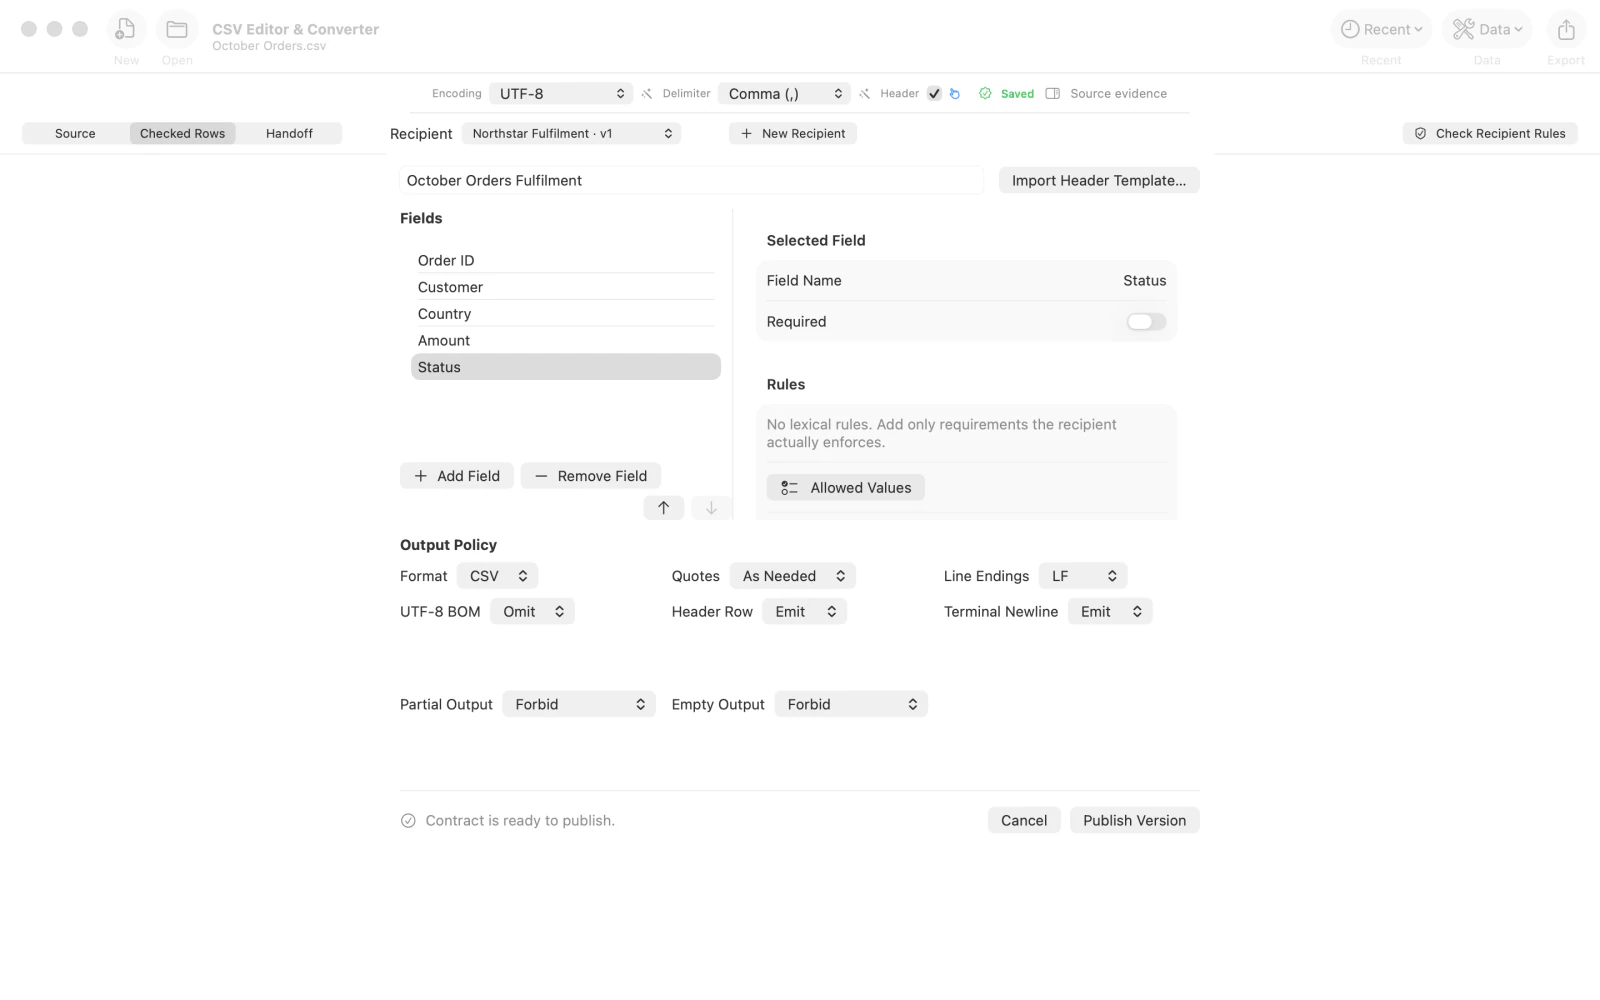
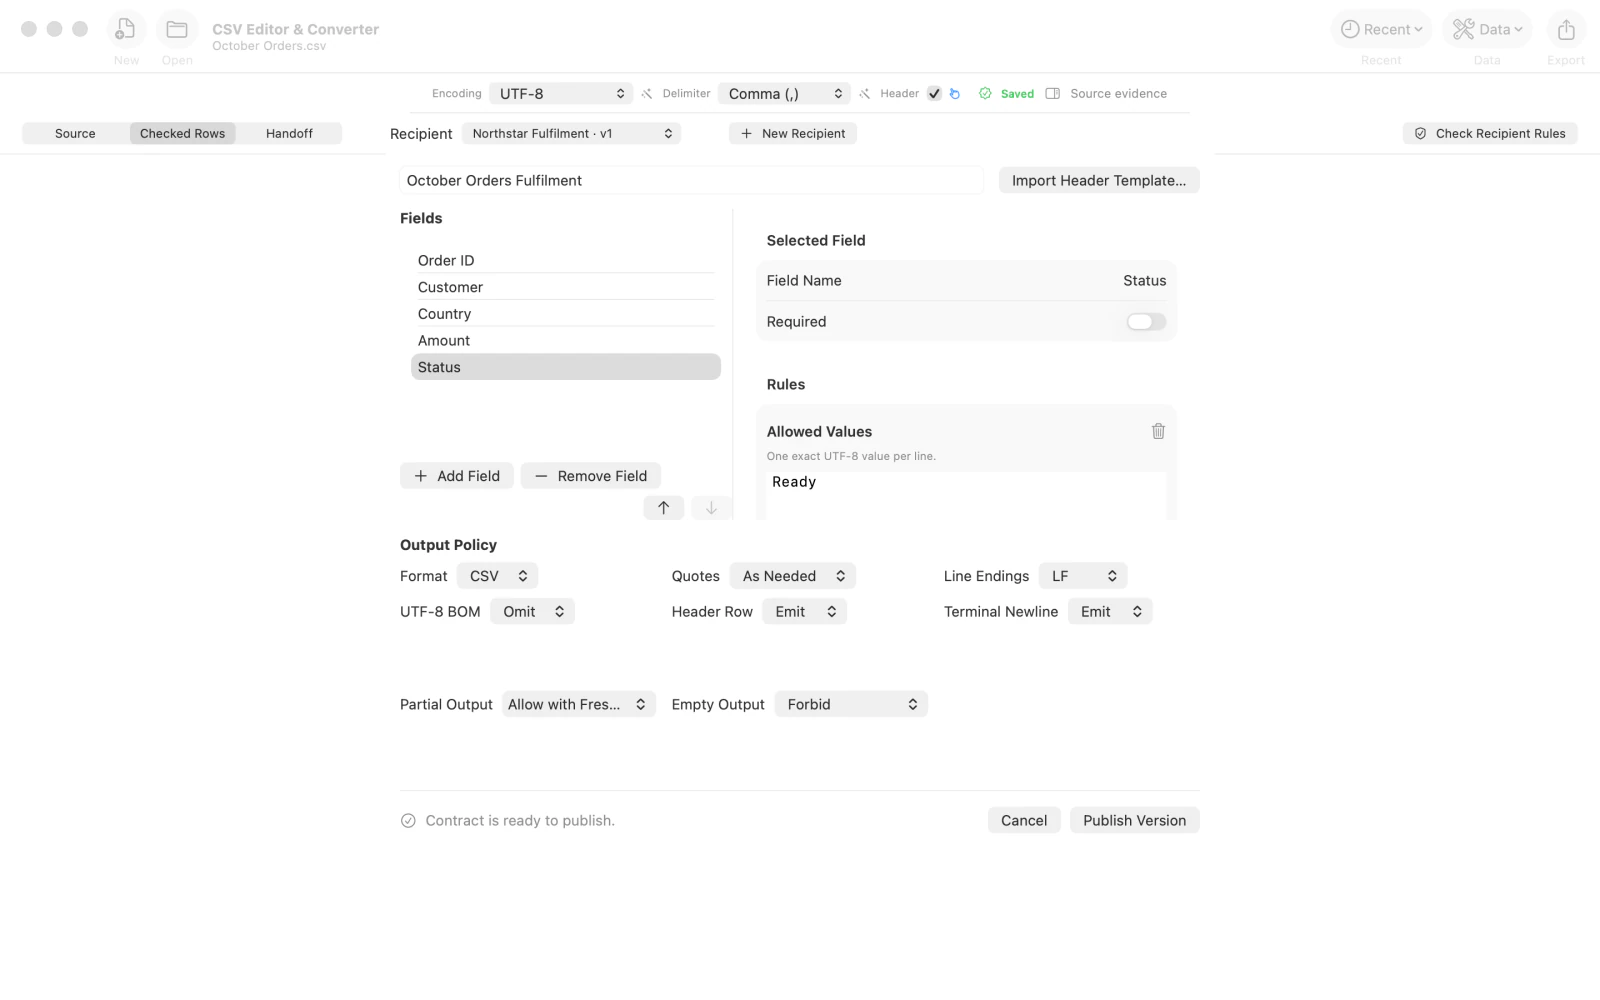
Enter October Orders Fulfilment in Contract Name. Use Add Field to add Order ID, Customer, Country, Amount and Status. Select Status in the Fields list to configure its permitted values.
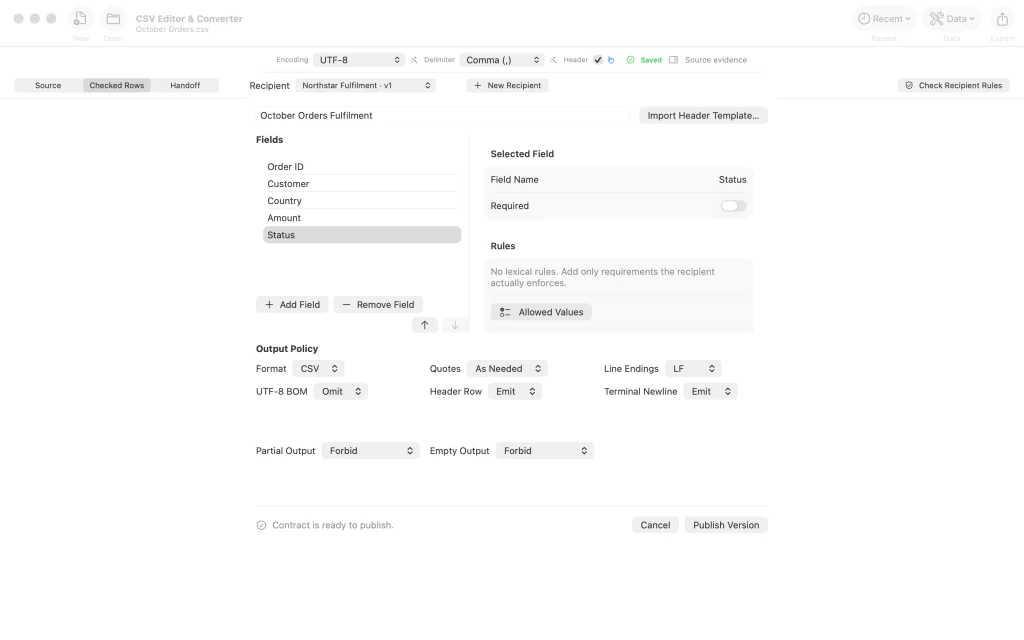
Recipient contract editor showing the named contract and five fields including Status. 5.Permit Ready as a Status value
For the Status field, add an Allowed Values rule and enter Ready on its own line. The example also sets Partial Output to allow a later partial delivery only with fresh acknowledgement. Choose the policy appropriate for the recipient.
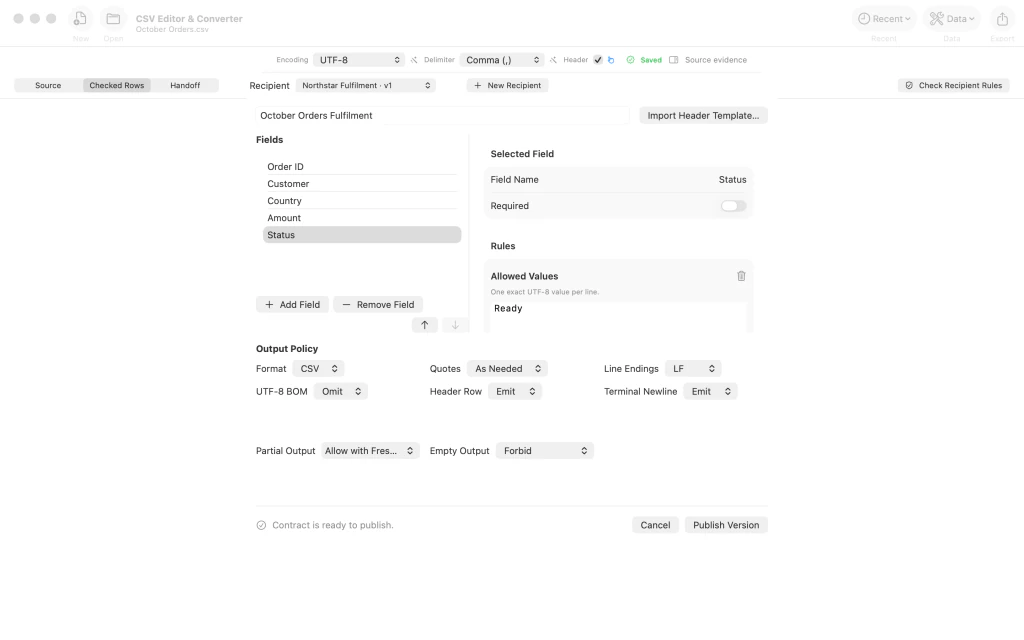
Allowed Values rule for Status set to Ready, with partial output policy visible. 6.Publish the recipient requirements
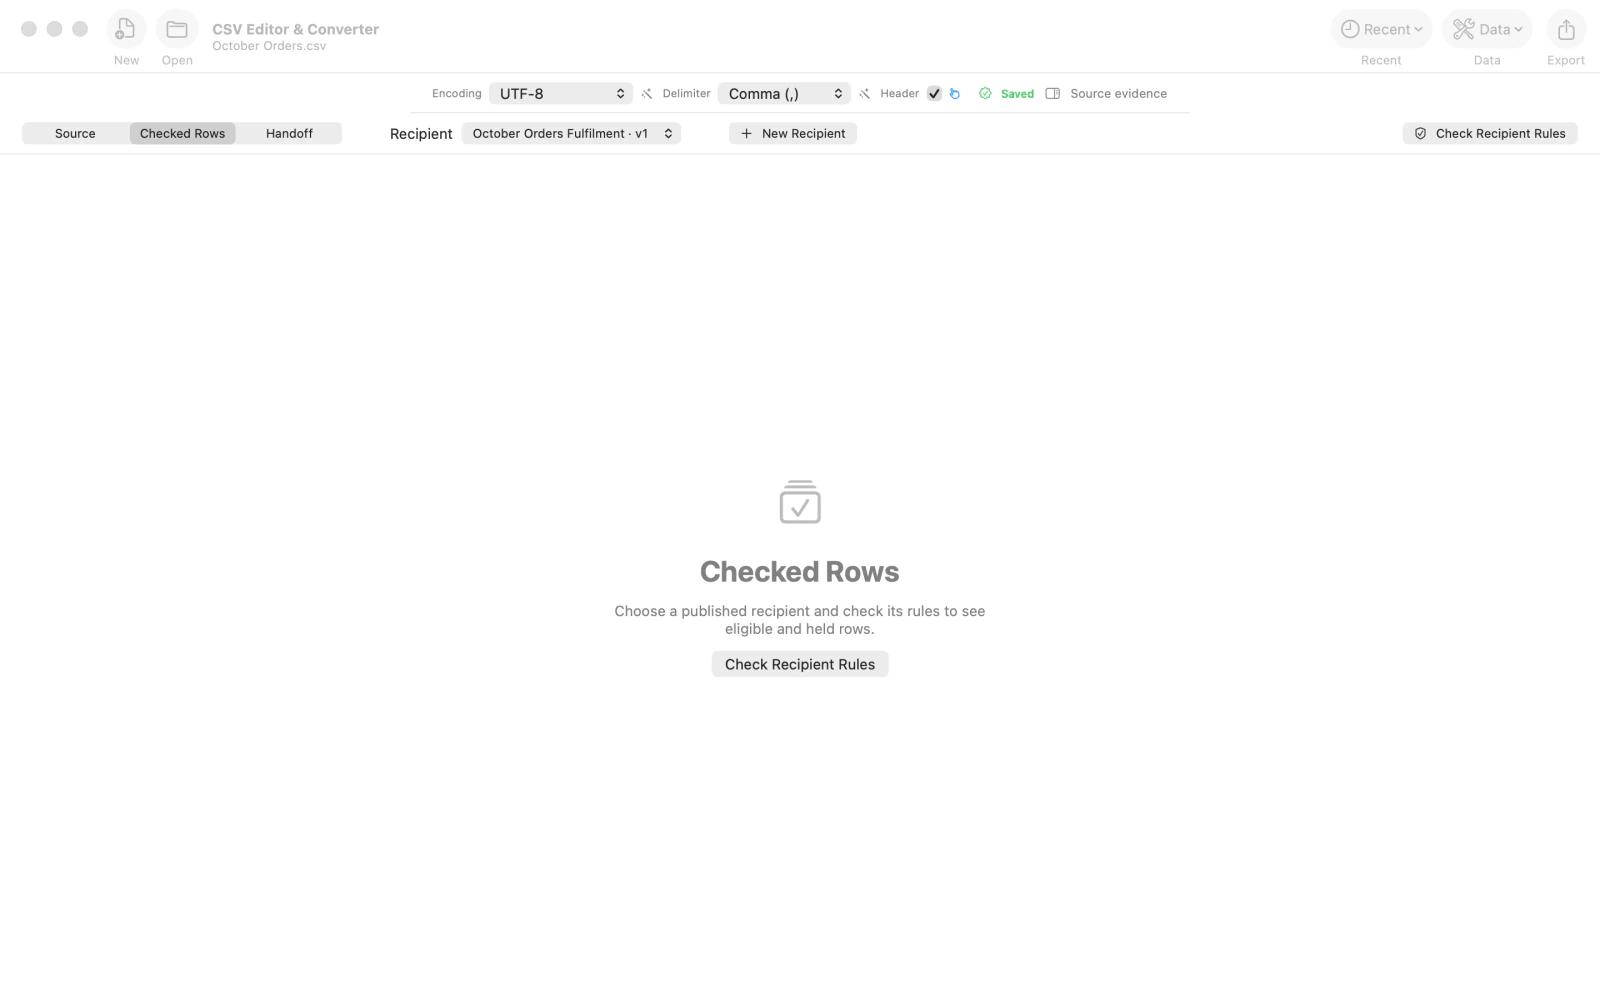
Click Publish Version. The Recipient selector now displays October Orders Fulfilment · v1. This saves the contract; the data rows have not yet been checked against it.
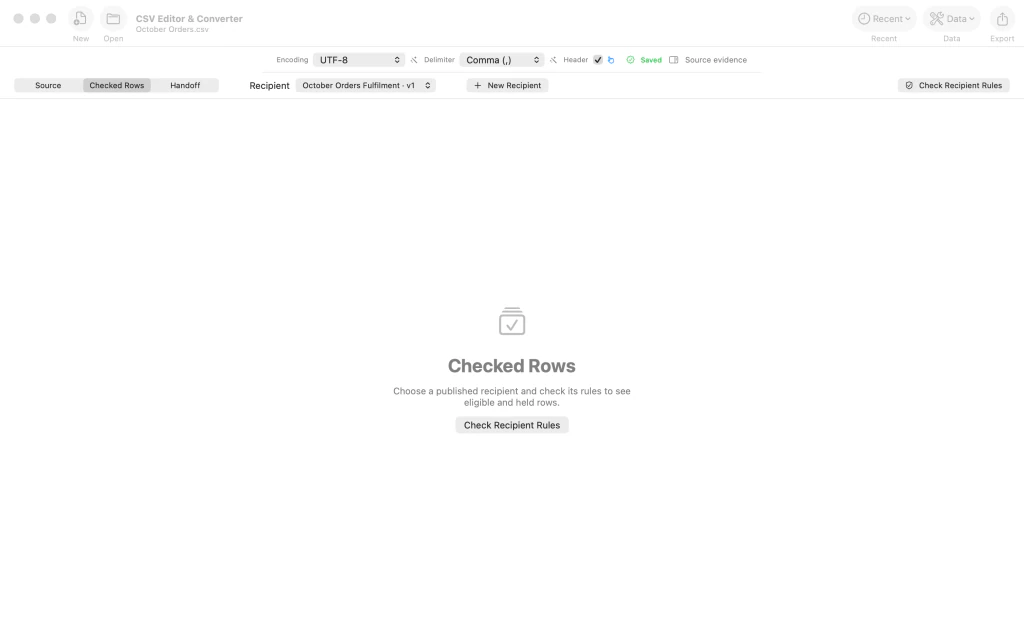
Checked Rows workspace with the published October Orders Fulfilment version one recipient selected. 7.Check all rows and review held records
Click Check Recipient Rules. The result shows eight of eight rows checked, with seven Eligible and one Held. The example holds row 5 because its Status is Hold rather than Ready. After corrections, use Check Again before preparing a delivery.
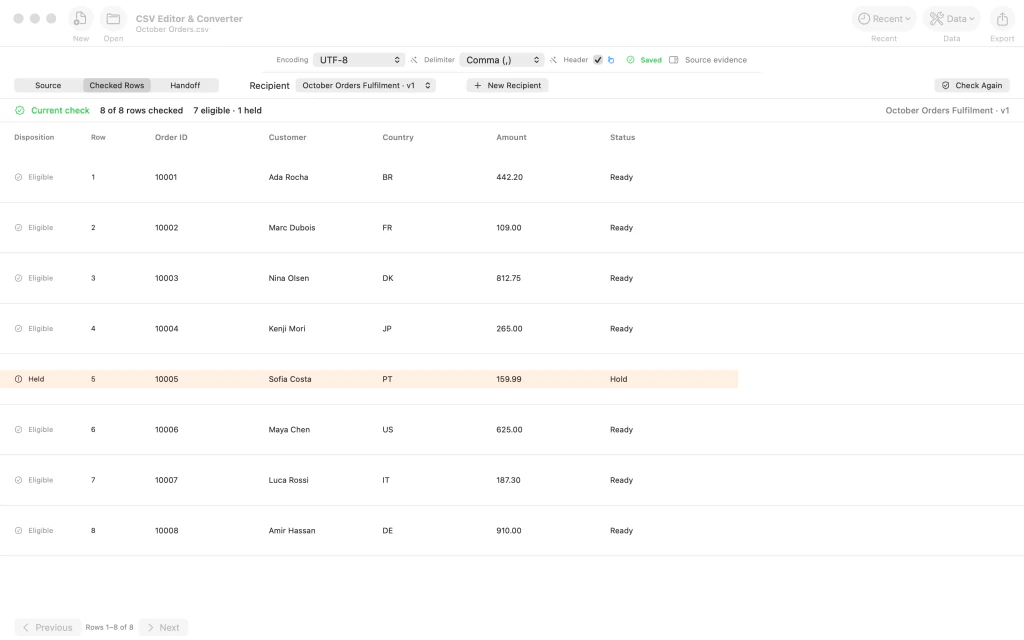
Completed check: eight rows checked, seven eligible and one held, with the held order highlighted.
After the last step
The held order remains visible for review, and you can run the check again after correcting data.
Tips
Use the source table to correct held rows, then run Check Again so the result corresponds to the current document revision.
The recipient contract can be reused; save a new version when requirements change.
Check the counts and held-row reasons before creating a delivery. Partial delivery is a separate decision.
Watch outA current check is not a file delivery. Review included and held records before any handoff.
Watch outAllowing partial output requires an explicit, fresh acknowledgement in the subsequent delivery workflow.
Watch outA change to source data invalidates a prior check; check again after editing.

